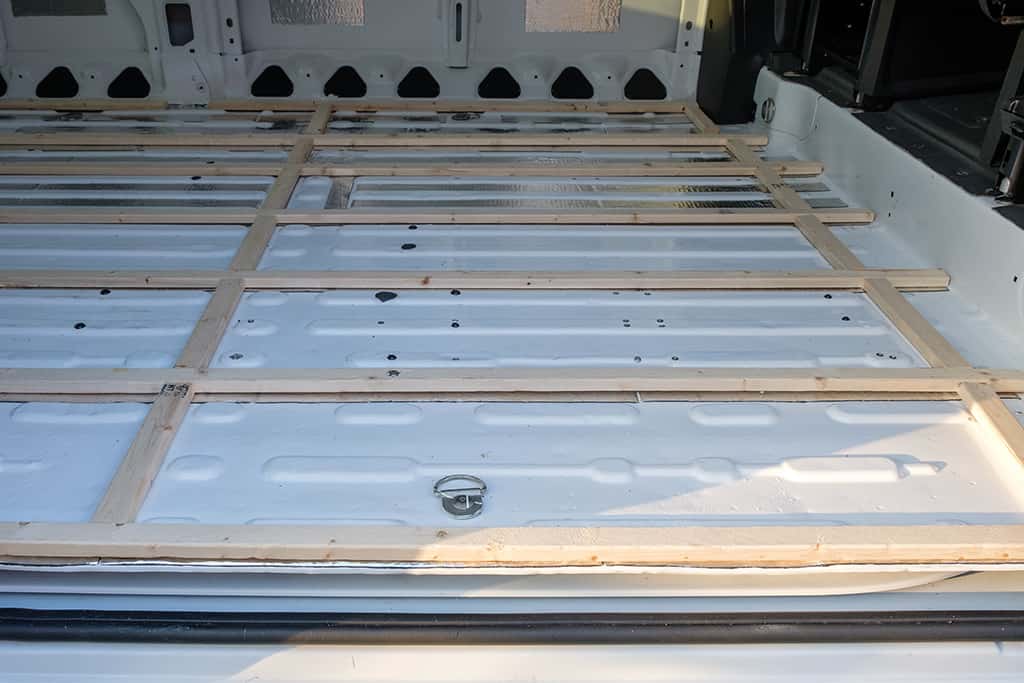
My floor started out with 1×2 furring that would allow me to create a built up area where I would have a flat place to secure my plywood flooring. These furring strips where installed with a combination of bolts through the metal flooring and liquid nails to hold them tight.

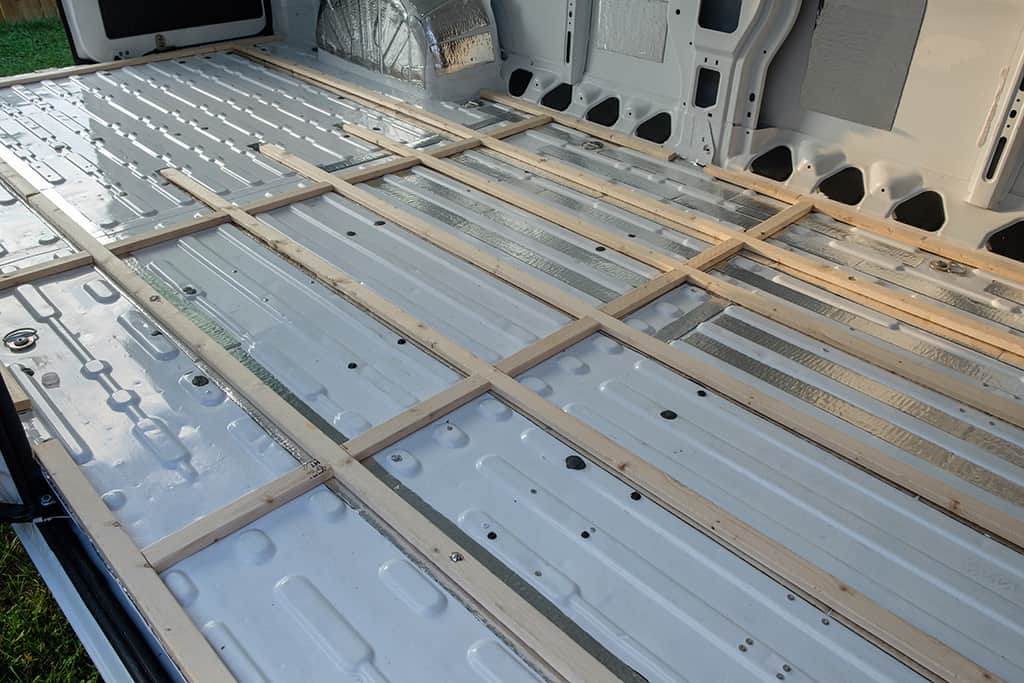
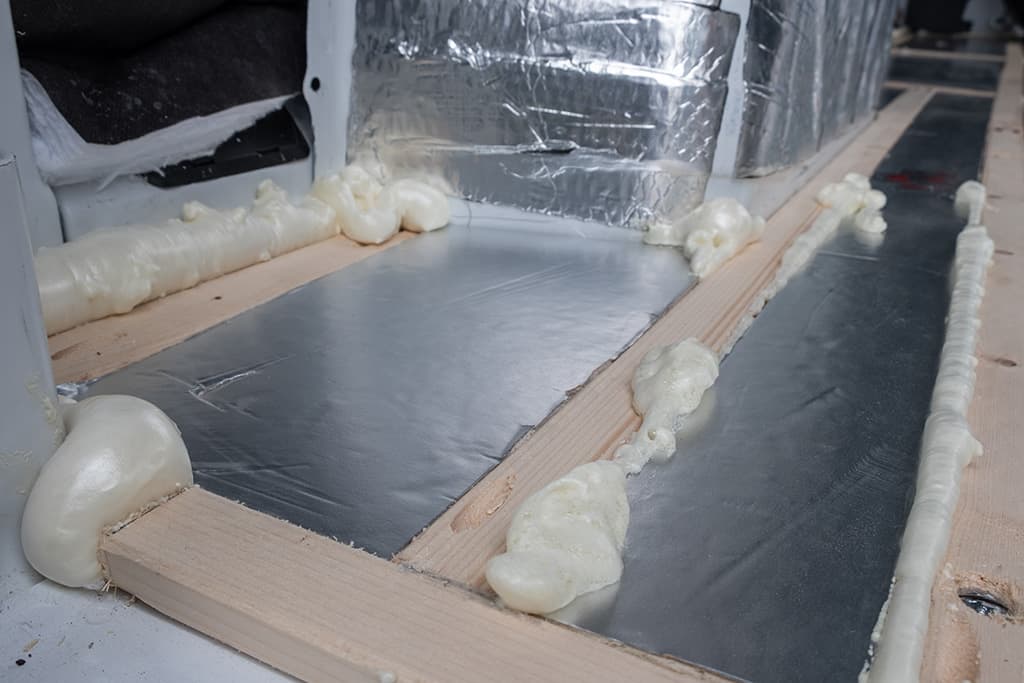
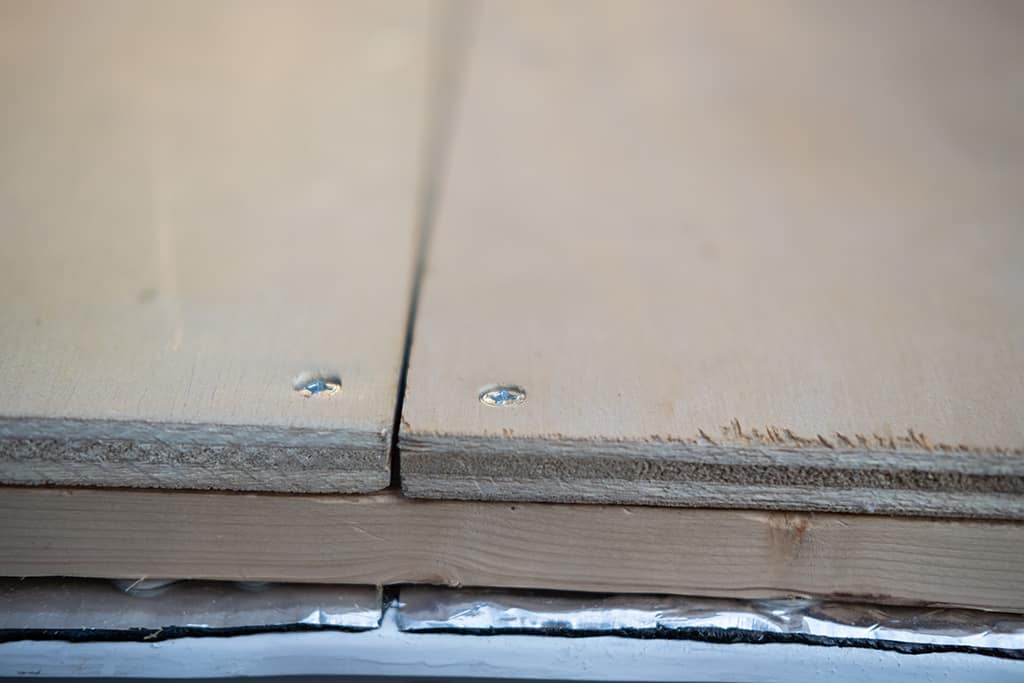
Once the furring on the floor was installed, I had a place to install my plywood on top. However, before doing that, I wanted to install insulation between the furring strips. I installed Polyiso Foam board insulation and held it down to the floor using 3M Spay adhesive. I also used a combination of Great Stuff and aluminum tape to seal any cracks between the wood and foam boards.


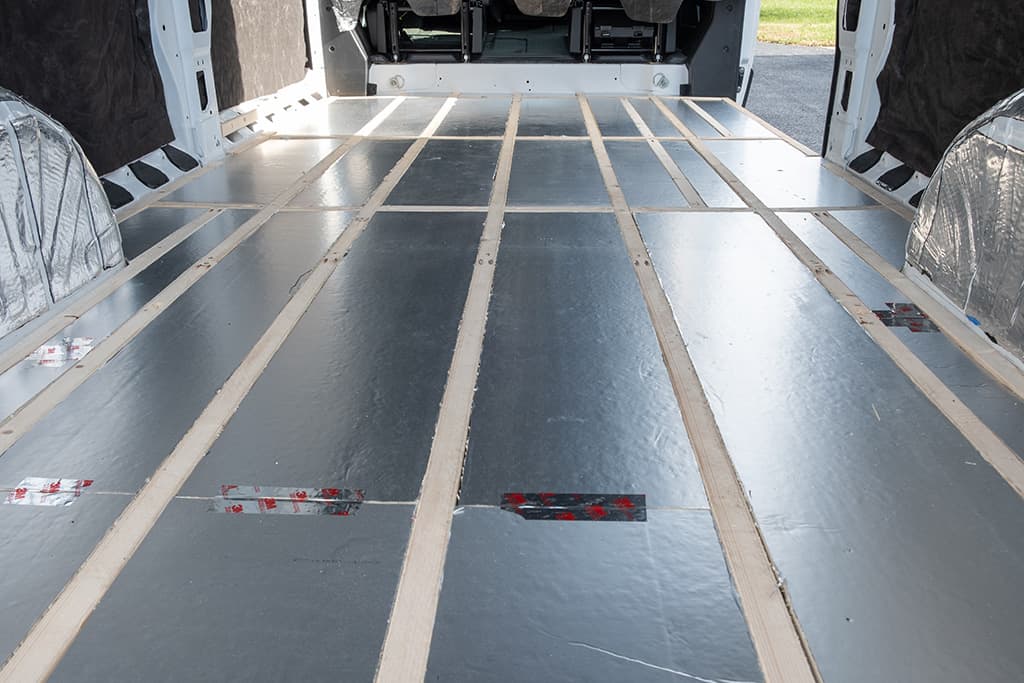
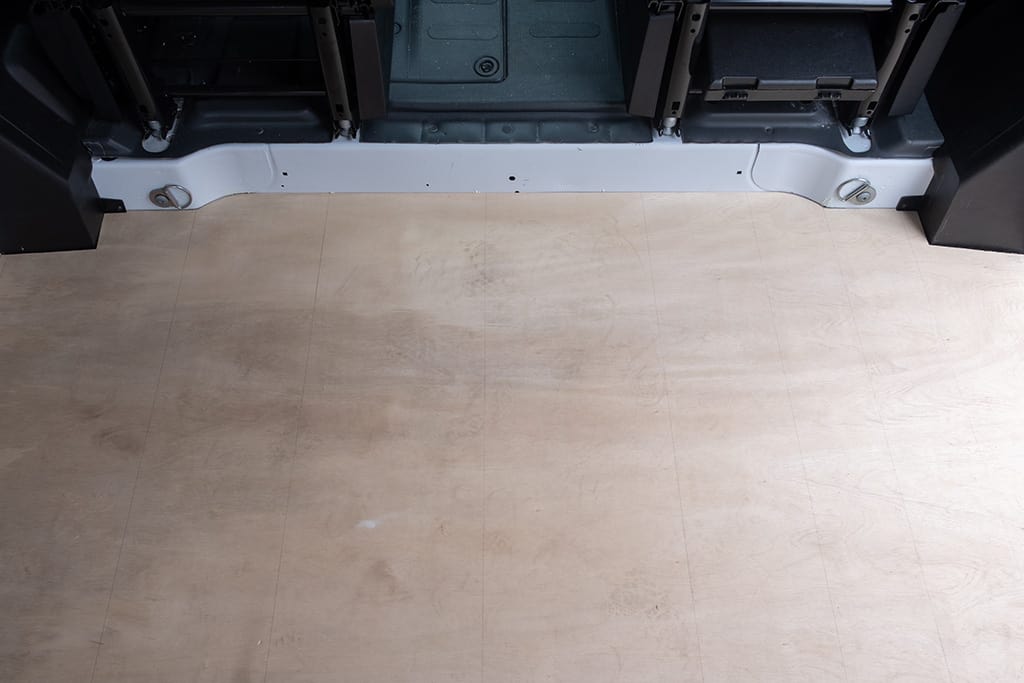
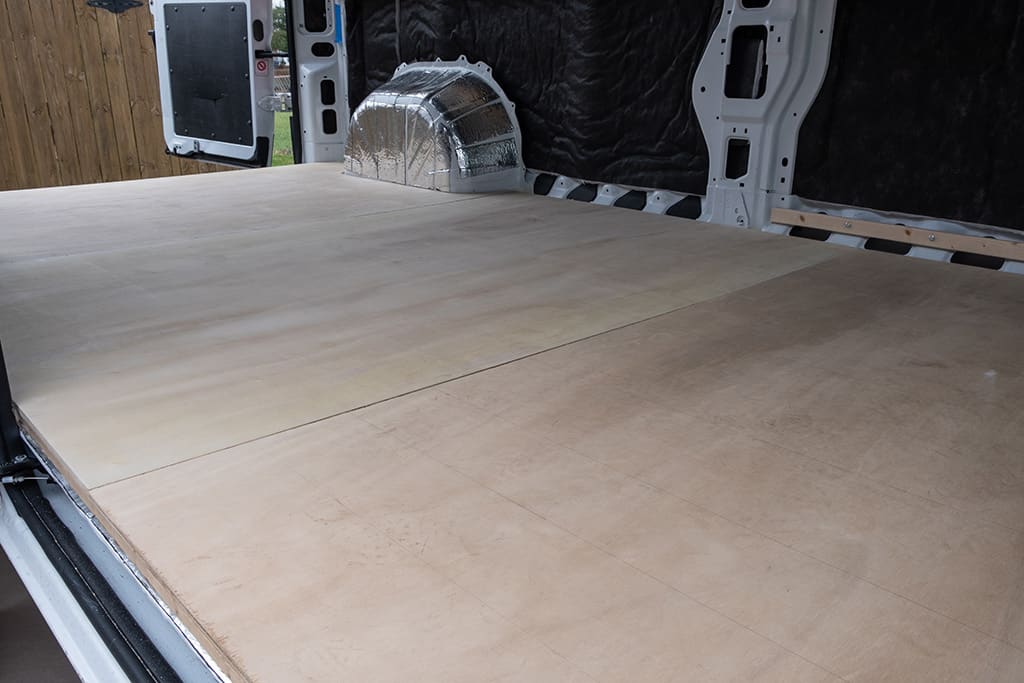
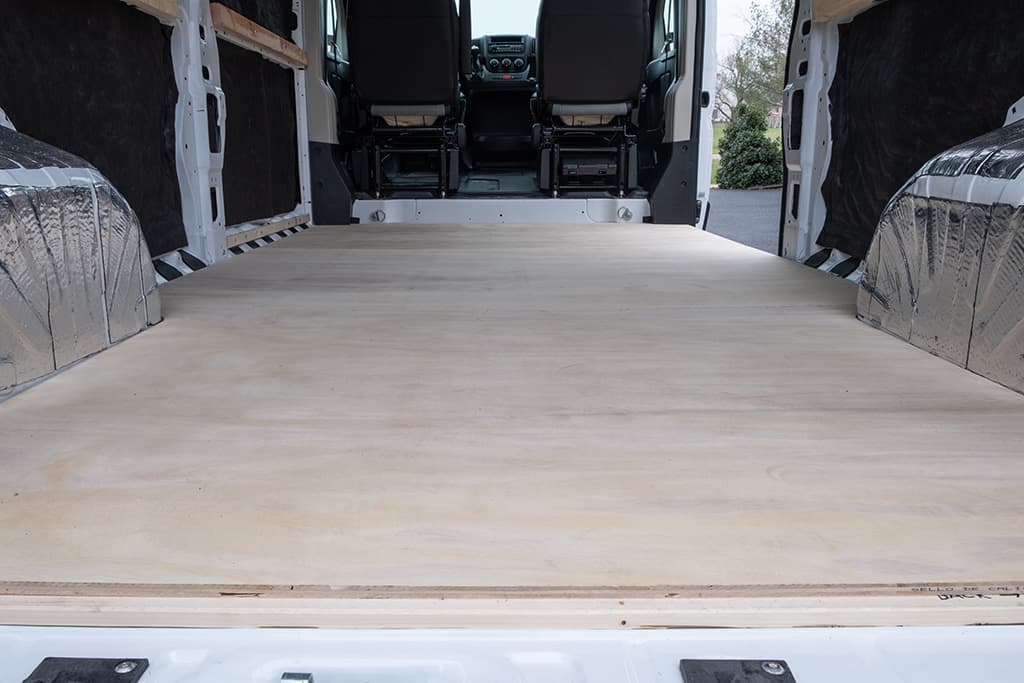
Once the insulation was installed on the floor, I cut the plywood into three sections and then cut each section to fit around the van structures. In the end, the plywood floor fit like a glove and gave me a very solid and flat surface to build the rest of living space on.


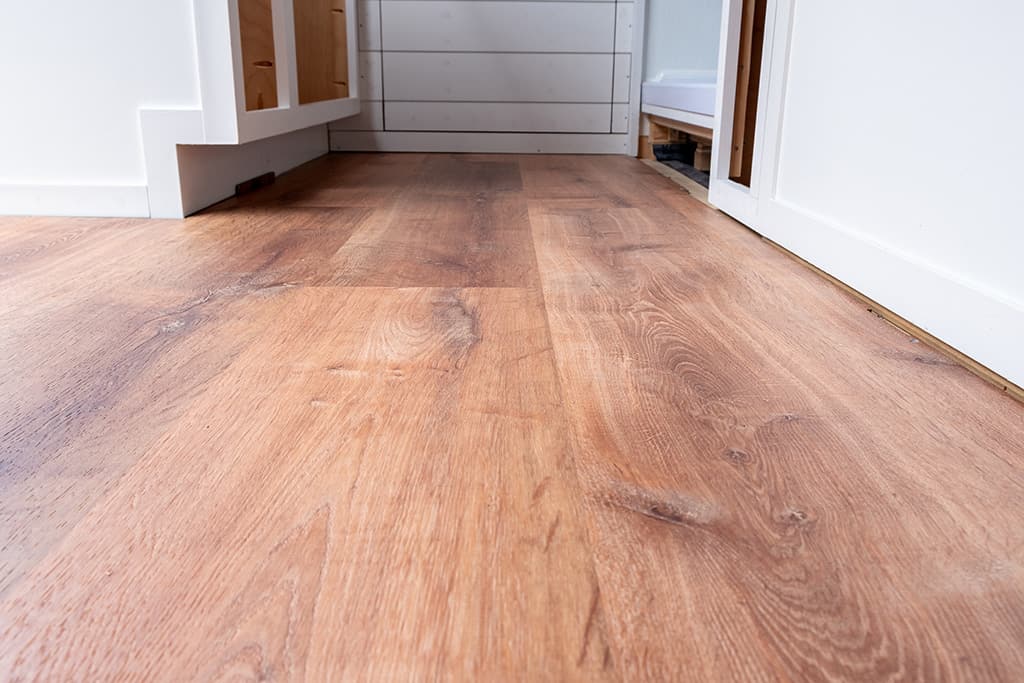
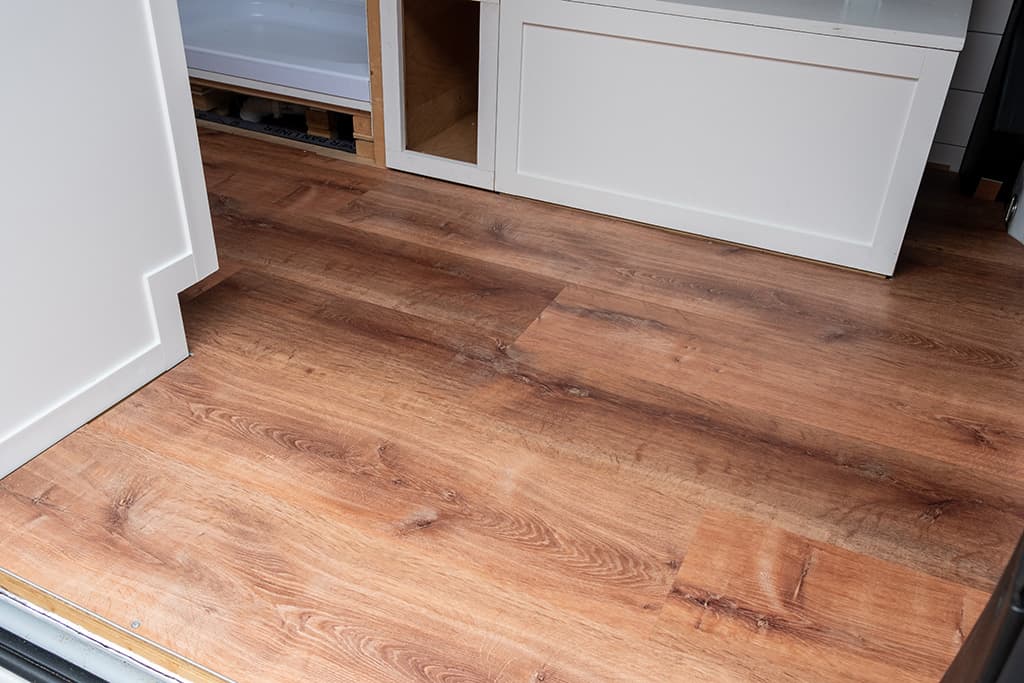
The next task was to install the vinyl flooring. This was the fun part because the van started to come together once the floor was in. It turned out great and the vinyl I chose was easy to work with and perfect for a van conversion.

After the vinyl flooring was done and most other parts of the van were complete, it was time to put the trim on. The trim helped to finish the entire project and make it all come together in a neat fashion.


Garage area 
