If you are converting a van into a camper van, you may have considered installing a swivel seat. Of course, this will depend upon your planned layout but most people will benefit from having a swivel seat because they make use of the front seats and add more living space to your van.
They also become the most comfortable place to sit in your van and will leave you fighting with the other occupants over who gets to sit in them. If you only have one seat that swivels, you may be in for a big fight.
The first thing you’ve got to do is find a swivel seat. They are in high demand and are often back-ordered. I had to be put on a waiting list at Eurocampers.com so I would be contacted when they were in stock.
The passenger side was the one I wanted to make sure I installed first because that would be the most useful one in our van configuration.
Now, if you are buying a brand new van, you may be able to have swivel seats installed from the factory. This would be the way to go if you were going to order a brand new van.
However, what most people do is buy a van, whether it’s used or new and then they purchase a swivel base and put that in, which is what I decided to do.
I decided with my van layout, it makes the most sense to have a swivel seat so that you can turn around and now that comfortable seat up front becomes a seat that you can use for the living space of your van.
Once the swivel base was in stock, I placed my order. I ordered the 2014 – 2020 Ram ProMaster Swivel Adapter for the passenger seat. I paid $269.
It only took a few days to receive it and then I got started with the installation.
Installing The Swivel Base In A Ram Promaster
The following are step-by-step instructions on how you can install a swivel base in your van. Note: this particular swivel seat is for the Ram Promaster but is typically the same process no matter what van you have.
Disconnect The Battery
The first thing I did was to locate the battery compartment. In the Ram Promaster, the battery is on the driver’s side floorboard so it’s really easy to get to.

You don’t have to pop the hood as you do on most vehicles. The battery is located inside the cab. The Sprinter and Ford Transit are the same way. They are both located inside the cab, making it easy to service.
If you have the Nissan NV, the battery is located under the hood so it’s not as convenient.
Once you locate the battery you will simply disconnect the negative battery cable from the battery.


This will ensure that no power will be going to the airbags from the seat that you will have to disconnect. You don’t want the airbag going off while you’re working.
After you have disconnected it, you will want to wait 10 minutes.
However, I’m always extra cautious so I waited 15 minutes.
I just set a 15-minute alarm on my phone and once the alarm went off I knew it was OK to disconnect the cables on the seat.
Disconnect Cables From Seat
There are three cables in the Promaster and you will have to disconnect all of them. There is an orange one, a yellow one, and a black one. They are really simple to disconnect.
The orange and yellow one has a purple slide that you will use to disconnect. The black one has a pushpin that you will push while pulling and it will disconnect.

After these cables have been disconnected, you will need to cut some of the zip ties that are holding the cables onto the seat mount.
After all of this is done, you will be free to remove the seat after the bolts have been removed as explained in the next steps.
Removing The Seat Base Bolts
Six bolts hold the seat to the base and all of these will need to be removed in order to remove the seat. You will need a T 40 socket to accomplish this.


You’ll just need to use the T 40 socket to loosen all six bolts and remove them. Once they have been removed the seat will lift off of the base and you can set it aside while you do the next steps.
Installing The Swivel Base To The Seat Base
The swivel base is going to line up using the same six holes as the seat did. Although it will use different bolts, it will be as if you were installing the seat back onto the base.
Once you have the swivel base on to the seat base, rotate it so that you can see the bolt holes. You will want to use the bolts that came with your swivel base to tighten the swivel base down.


After these bolts have been tightened, you will likely notice the first problem in the installation.
The problem will be the front bar underneath the seat. This bar will be hitting on the swivel base. The instructions say that it will do this but that it won’t cause a problem.


However, this is not accurate. It does cause a problem because when you try to swivel, you will be hitting on the bar and the swivel will scrape on it and make it difficult to swivel.
That bar is simply in the way and you will need to do something to get it out of the way.
My solution was to use a rubber mallet to hammer the bar down slightly so that it was out of the way. This way it would not be making contact with my swivel base any longer.

However, be careful not to hammer it down too far or you will bend the seat base sides and the bolt holes will no longer line up. They will be at an angle, making the bolts harder to install. I did this the first time around and had to hammer the bar back up a little.
You will want to bend this bar first and then put the base on without bolting it down in order to test that it has clearance.
Make sure it will swivel without hitting. If it will, you are good to go and can go ahead and bolt the base down.
Once the base is installed, then you have the swivel seat installed. You are back to where you started from when you took the seat off. Now all you have to do is put the seat back on to the swivel base using the same 6 holes.


You’ll use the socket bolts that came with it. You will need a 6mm hex wrench to install those. Just line the holes up and tighten down the bolts. Be sure to get them all started before you tighten them all down.
Once these are tightened down, the swivel seat is now installed.
Reconnecting Cables
Once you have finished you are going to want to reconnect all of the cables that you disconnected in the beginning.
Once you have the cables underneath the seat reconnected, you can reconnect the negative battery cable.
After doing this, the seat will be fully installed and ready for use. Enjoy!
Testing the Swivel
There are a few things I noticed when testing the swivel base for the first time with the seat on it. The first thing is the lever hits on the seat and doesn’t allow you to pull the lever up if the seat isn’t in the proper position.
To swivel, you will need to pull your seat forward but the lever will not raise up all the way if your seat is too far forward. However, if your seat is too far back it will hit the side of the van as your swiveling making it difficult to swivel.
There is a sweet spot that you will need to discover to make swiveling work for your seat. I’m not sure why the lever is designed the way it is. It seems as though it is bent in too far and hits the seat in a way that it shouldn’t.
This could be a problem with my swivel base or it could be a poorly designed product. Not sure which.
Using the Swivel Seat On The Road
If you are wondering how this swivel base performs, I have taken my van out on a few trips and have learned what I like about it and what I don’t. Overall, it has been great but there are a few things that I do not like.
Let’s look at the pros and cons.
Pros
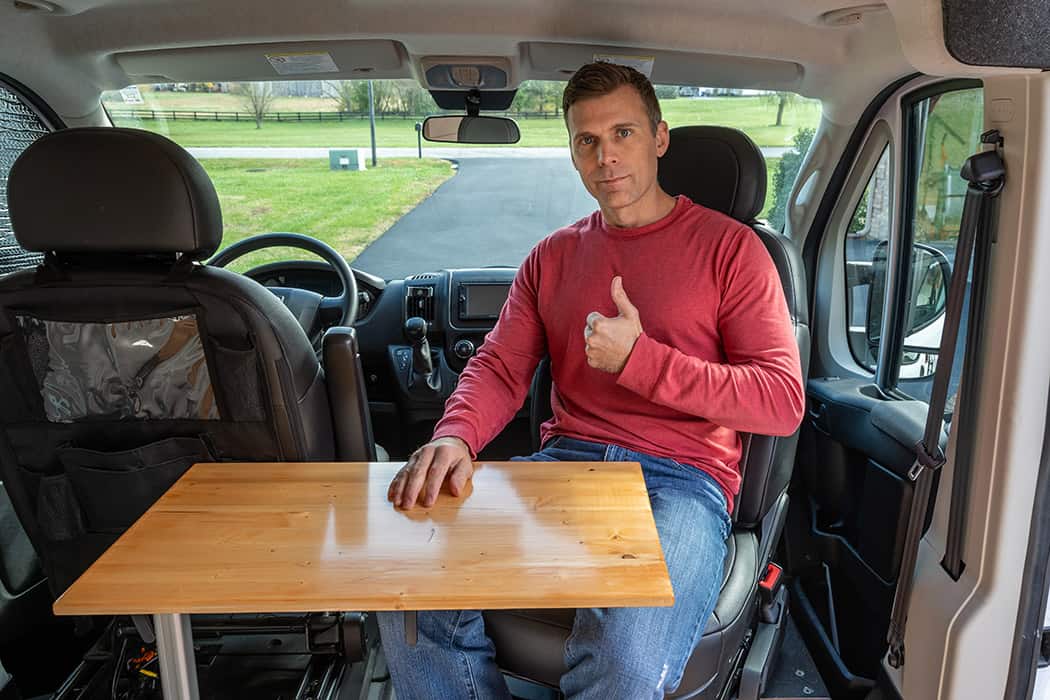
- Creates more living room in your van. For my layout, it creates an additional seat for using the table that I have mounted on a Lagun mount. I can use the seat and someone else can use the bench seating and the Lagun table can be positioned where you need it.
- Well built – heavy-duty – high quality. It seems like it came from the factory. Besides a few issues with alignment, it fits and works great.
Cons
- The seat lever is a possible problem. When I want to swivel the seat around, I have to move the seat back into its furthest back position so that I can raise the lever. Once the lever is raised, I have to move the seat back up so that it can swivel around without hitting the van door. It seems like the lever could have been better designed or positioned.
Having a swivel seat has been great and it really opens up my van to make it feel bigger. I can’t imagine not having it now that I have gotten used to it.
I have considered putting one in the driver’s side but the swivel base raises the seat an inch and a half and I feel that this might be too much for the driver seat.
As it is now, the passenger swivel seat is working great in my van and hopefully, these instructions will help you install one into your van.


